5 Steps to Getting Started
For instructions on using the app, please visit the App Guide.
Need help?
Step 1 — Learn
Basics of Plant Growth
The SmartTerra aims to mimic your plants’ natural environment as closely as possible. Specifically, the SmartTerra automatically monitors Light Level, Temperature, Air Humidity, and Soil Moisture. The combined settings of these four factors make up the SmartTerra’s environment.
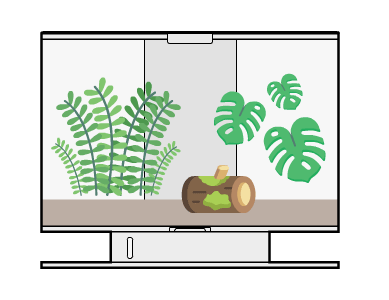
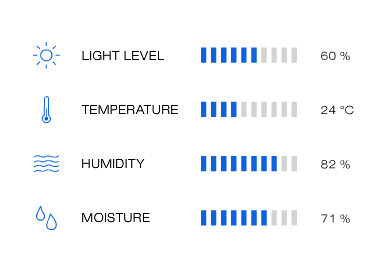
Light Level
Light is essential for all plants as it is required for photosynthesis. However, some plants require more light than others. Through the app, you have full control of the light cycle inside the SmartTerra, including sunrise and sunset times.
Temperature
Most plants grow comfortably at room temperature 20–25 °C (68–77 °F). In general, they are rather resilient to temperature changes, and a temperature too high is better than one too low. Furthermore, temperature drops up to 15 °C (59 °F) during the night are normal. However, if your house reaches colder temperatures below 12 °C (54 °F), especially during the winter months, we recommend moving the unit to a warmer room.
Air Humidity
Humidity (Relative Humidity) determines the rate of transpiration—the process by which moisture moves from roots to leaves. It also affects temperature regulation and nutrient flow. Ideal humidity varies by species (50%–80%). Desert plants tolerate lower humidity; tropical plants prefer higher humidity. SmartTerra regulates rainfall and air circulation to moderate humidity, but very dry atmospheres (e.g., winter) may require an external humidifier if levels drop below 40%.
Soil Moisture
By monitoring soil moisture, the SmartTerra knows when your plants should be watered. Keep soil appropriately moist—not too dry and not saturated, which can suffocate roots.
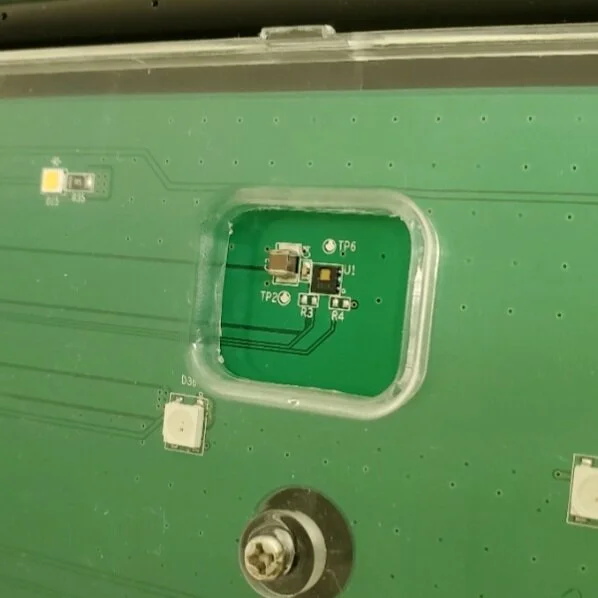
How Does the SmartTerra Work?
By employing sensors and controlling the light and rain cycles, the SmartTerra can maintain the light, temperature, humidity, and moisture levels.
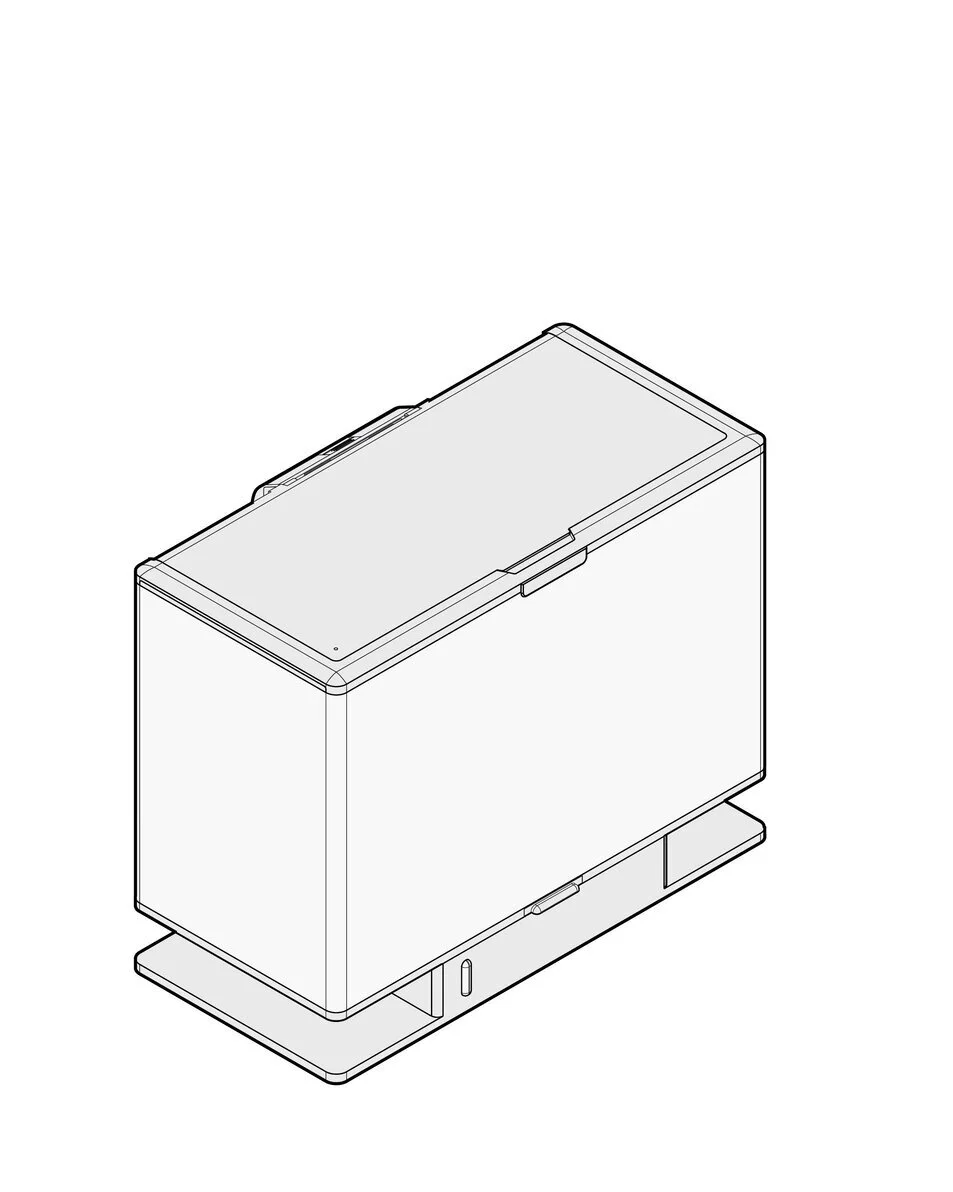


How to Assemble & Disassemble the SmartTerra
You may have to assemble/disassemble the SmartTerra for various reasons such as a clean up.
Step 2 — Plan
Picking an Environment
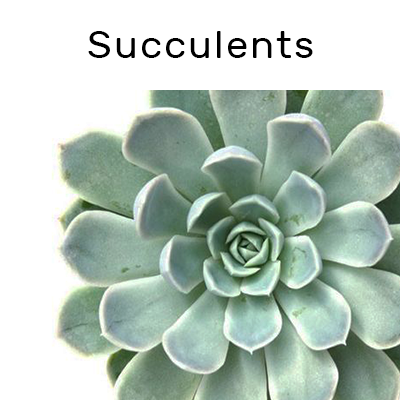
The very first step in having a terrarium is deciding what to put in it! This is a rough guide for picking plants to put in your terrarium; it is by no means a comprehensive list, but a starting point for your creative progression!
There are many varieties of plants that you can grow in your terrarium. And the SmartTerra allows for even more flexibility, thanks to the adjustable climate control settings. However, because different plants favor different environments, be sure to pick plants with similar growing requirements.
If you are new to plants, we suggest picking one of our Themed Environments: Tropical Rainforest or Desert.
Themed Environments
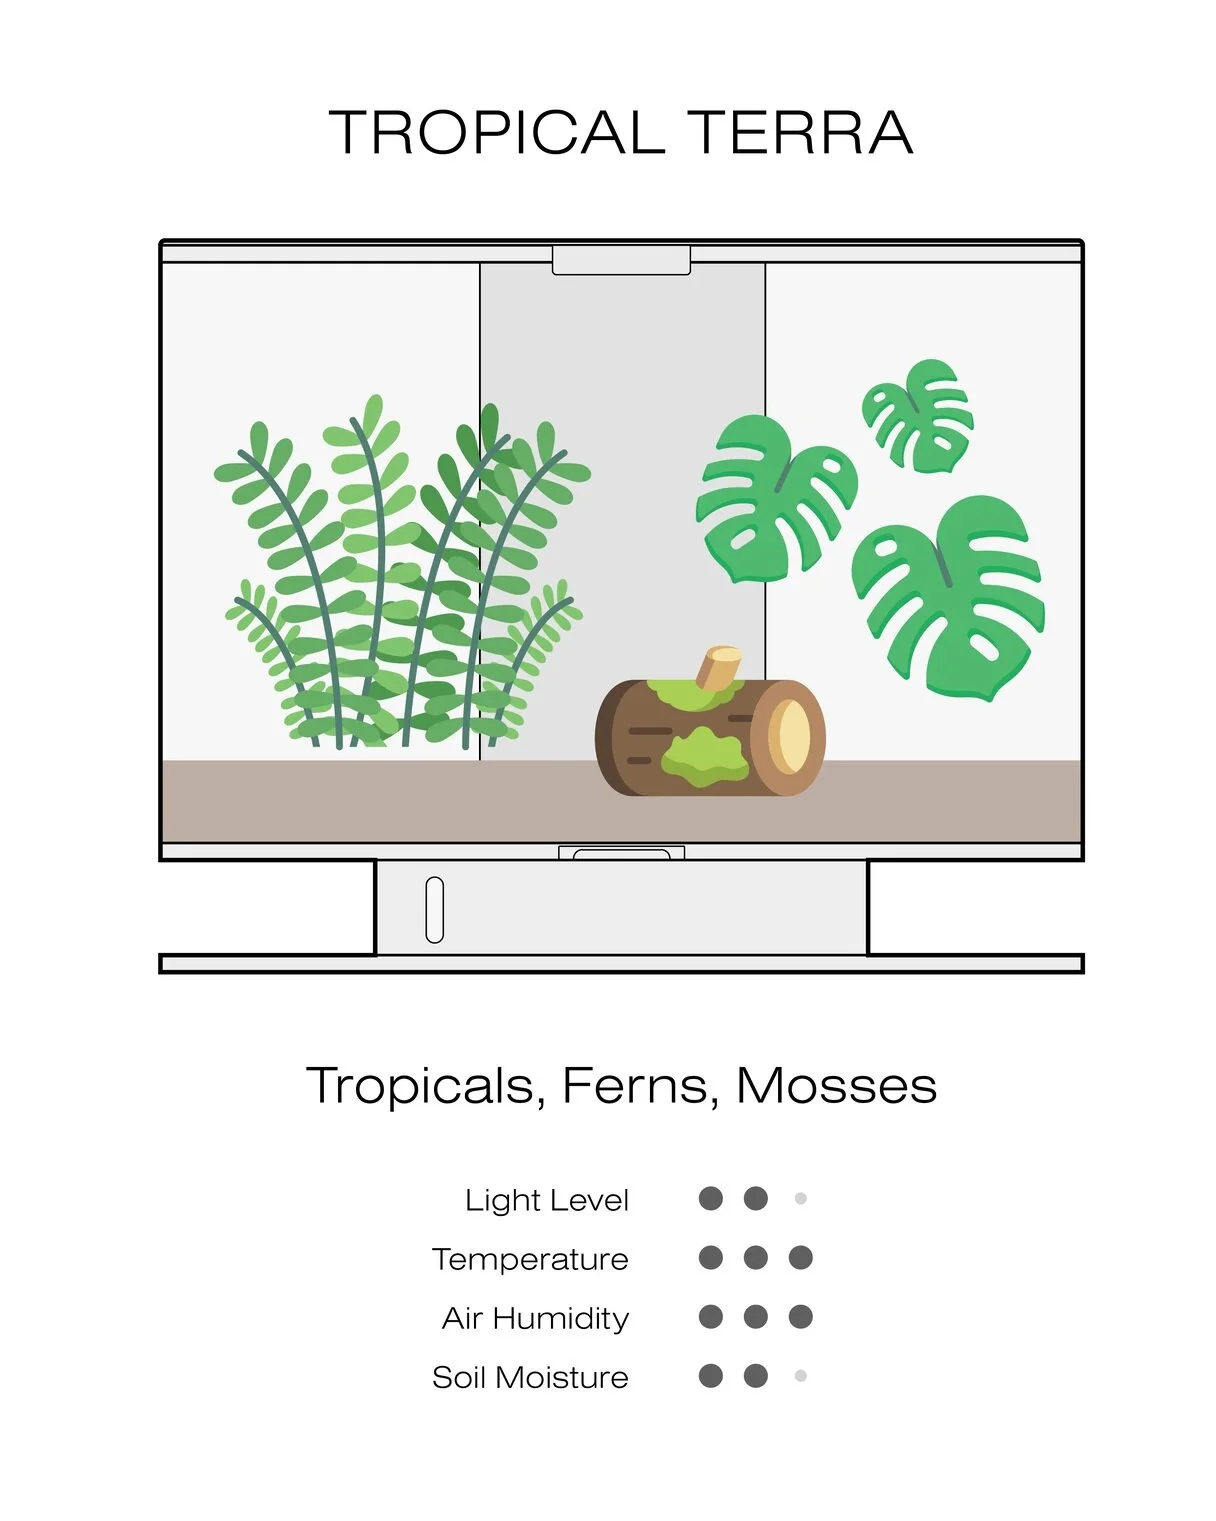
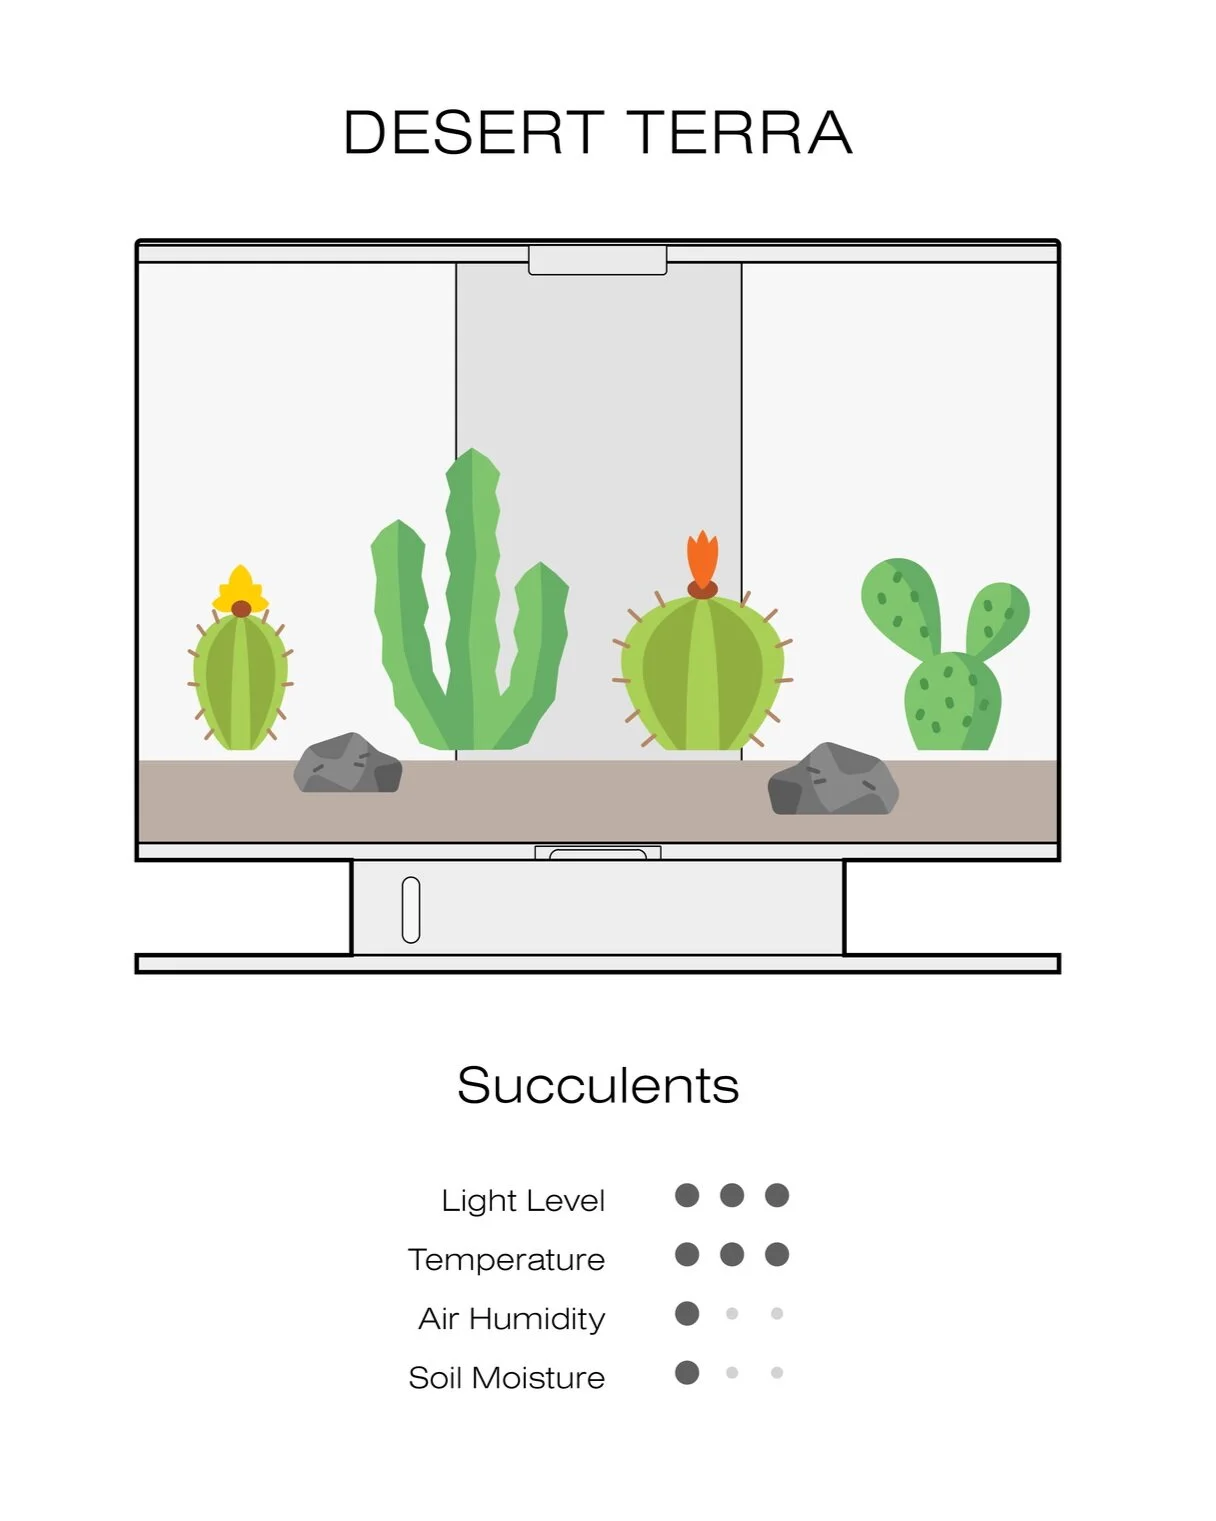
Learn more about the Tropical Forest and Desert Biomes.
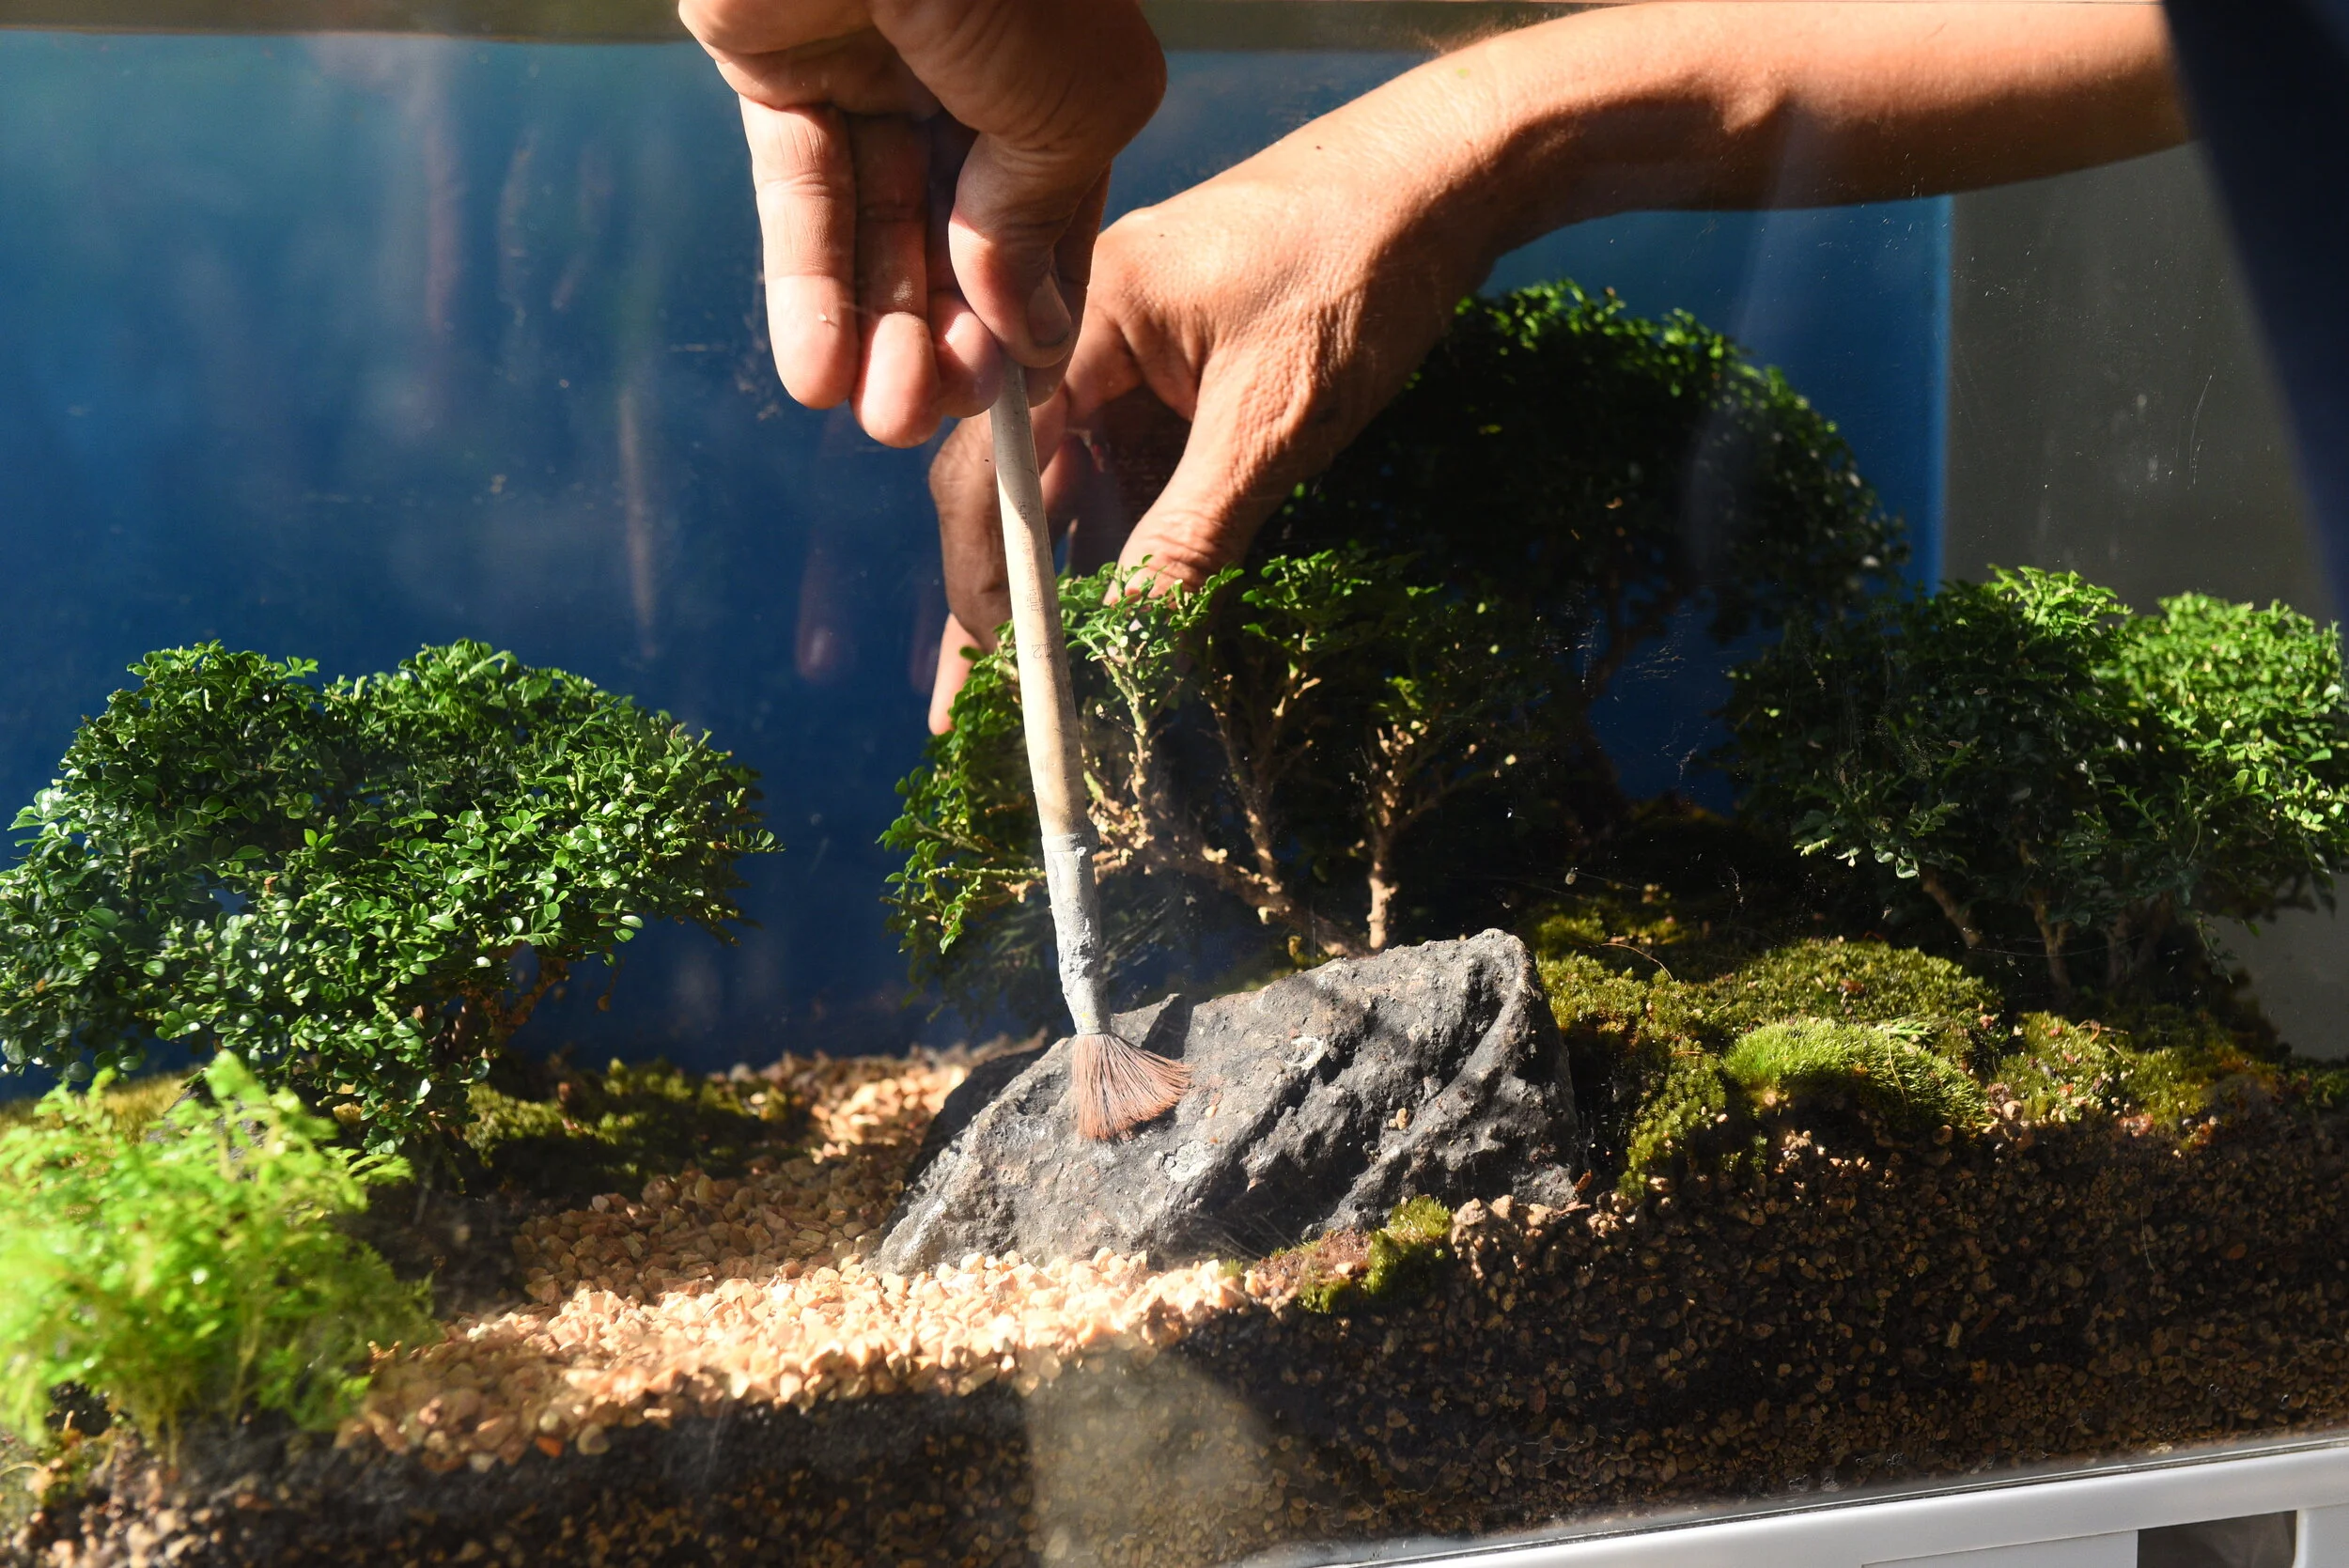
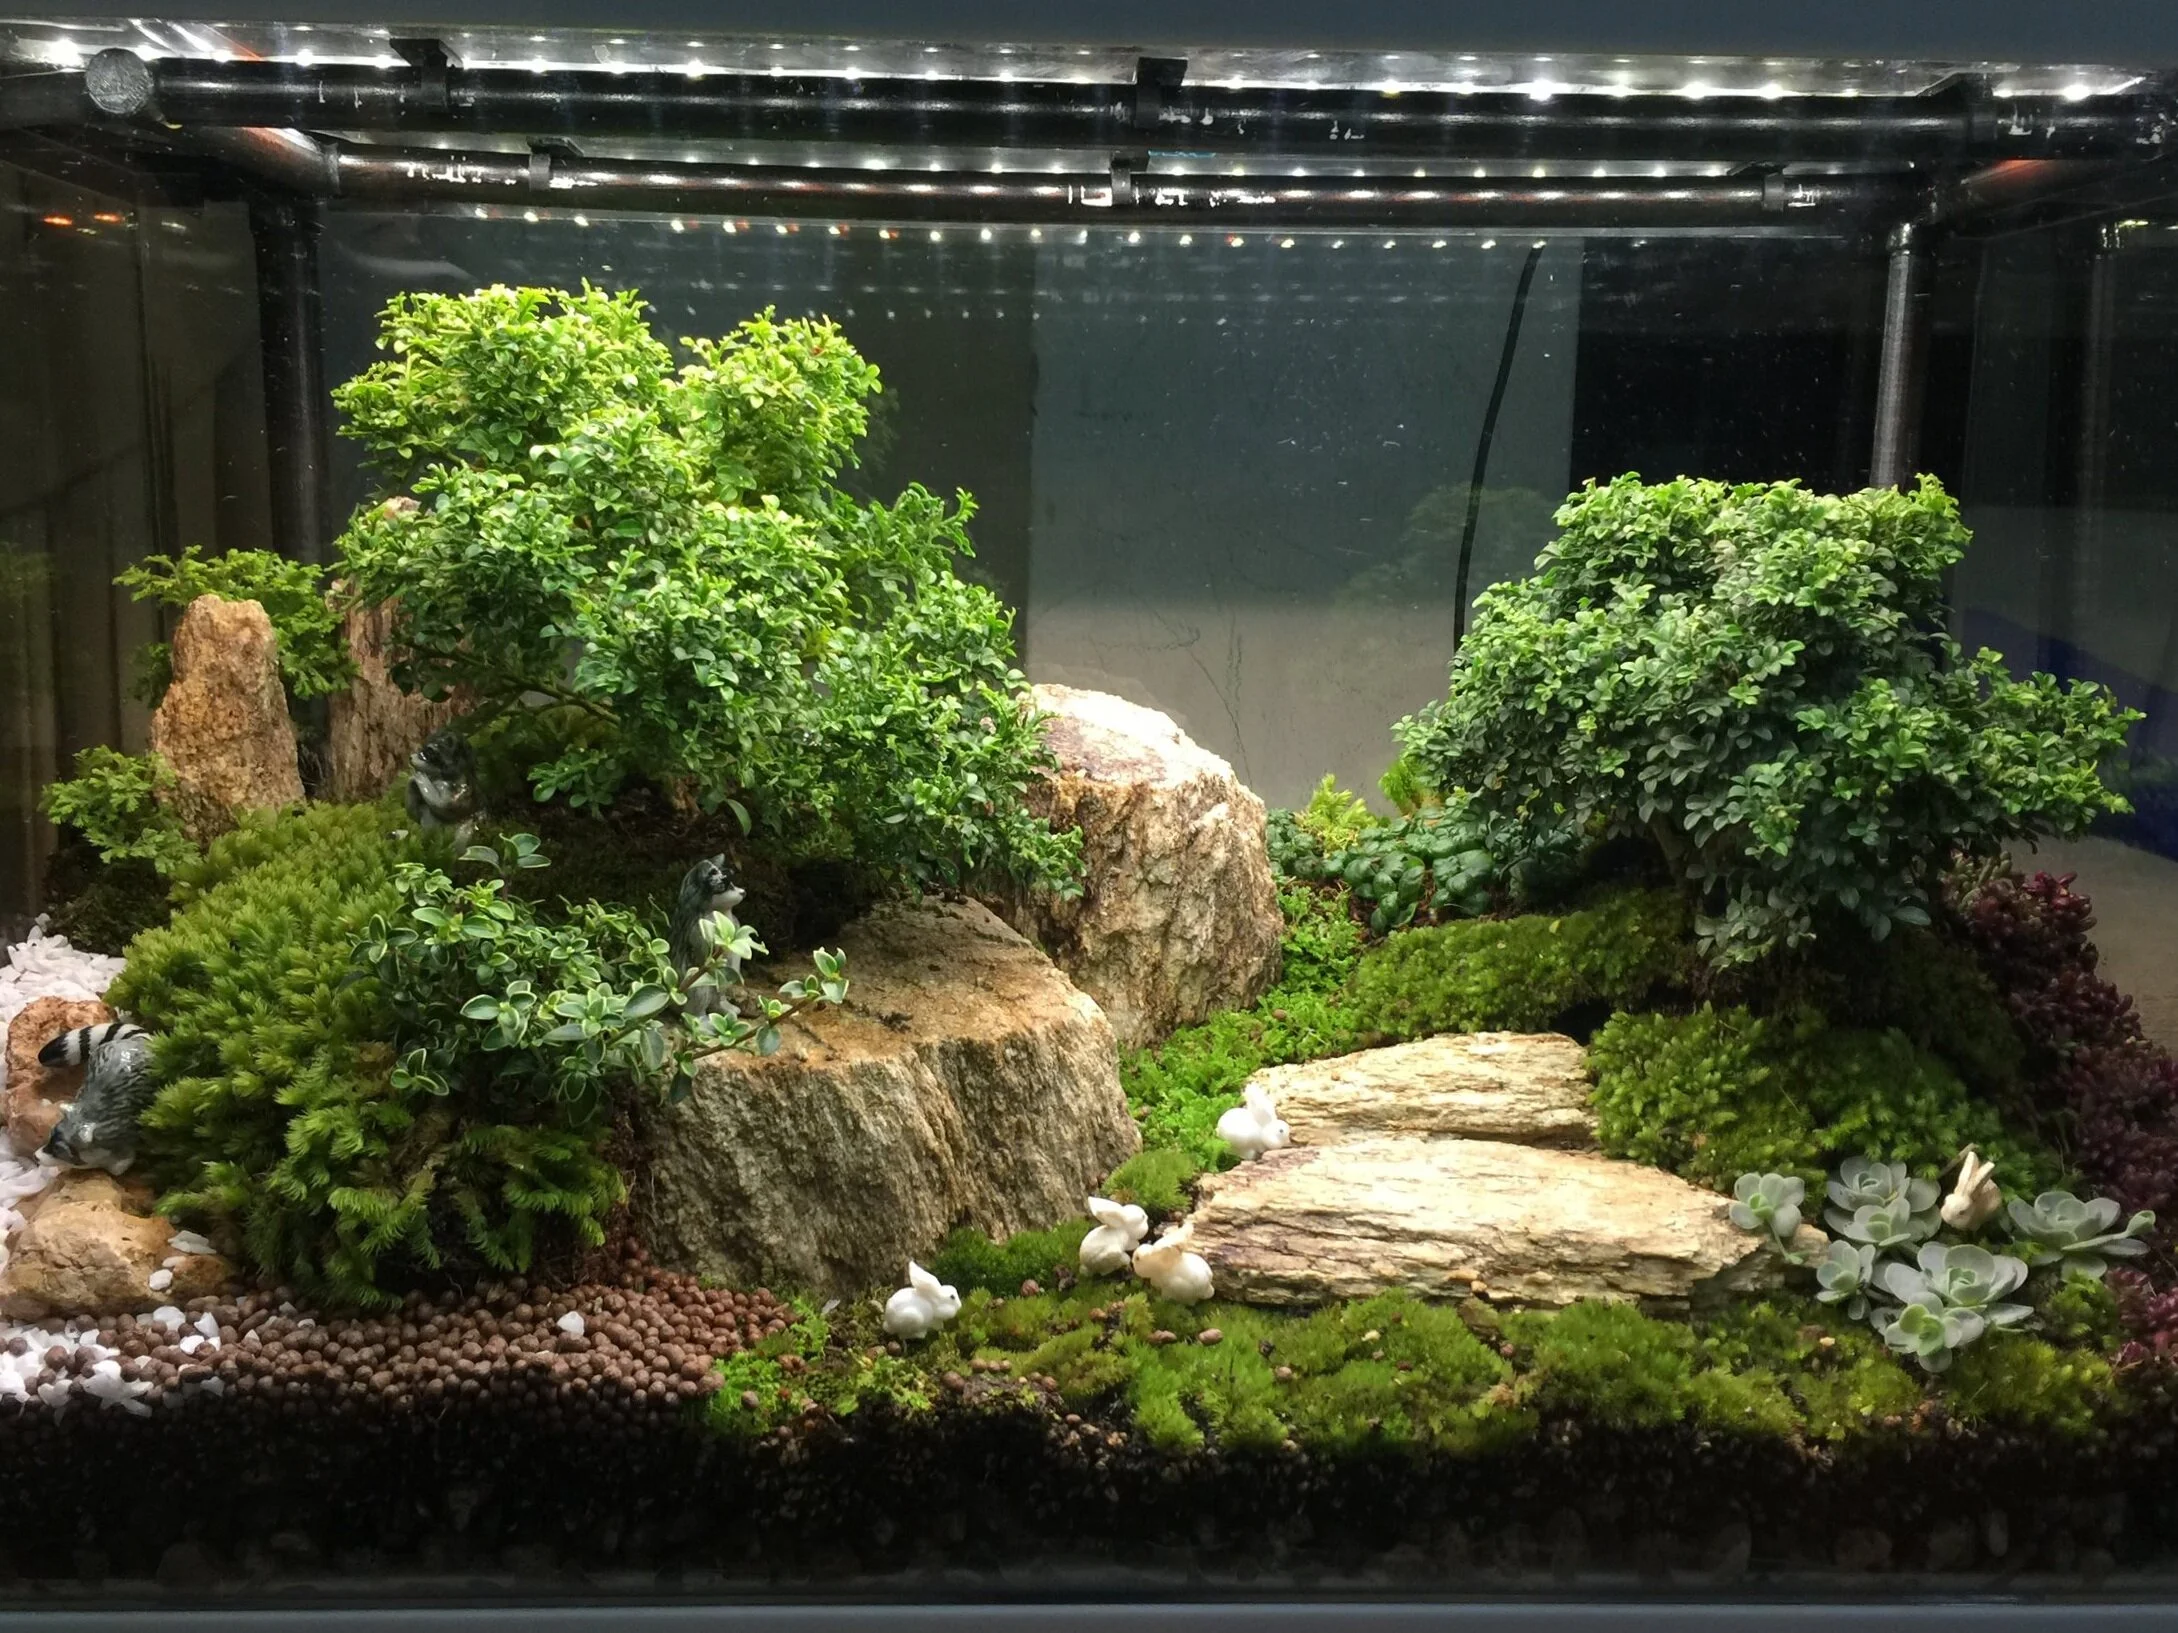
Designing Your Terrarium
Design Tips
- Design from Large to Small Scale: First, imagine the overall look of your terrarium. Will it be a certain style, or follow a theme? Then, think about the landscape and large decorative elements such as rocks and logs. Picture what the contour would look like and where your plants would go. Finally, consider where to put smaller decorative elements such as figurines.
- Think about Color: Incorporating different colors into your terrarium with various plants and decorations can really make your design pop! You can also follow a certain color theme.
- Think about Balance: Picture how your large and small elements fit together inside the SmartTerra — are they well balanced?
- Follow a Theme: You may want to follow a certain theme while you design your landscape and pick your plants/decorations. Some examples of themes include “Fairy Garden” and “Desert Island.”
- Put Larger Elements in the Back: Place large plants/decorations towards the back of the tank, and smaller ones towards the front. This prevents view obstruction. Also, when planning which plants to buy, research their directional growth pattern: Is it a carpet plant that spreads close to the soil, or does it tend to grow vertically.
- Consider Adding a Moss Layer: A moss layer can add life to your terrarium floor. We recommend first lining the soil with sphagnum moss, before adding live moss. Sphagnum moss increases the soil’s capacity to hold water and nutrients.
- Get Creative!: Look around you for inspiration; the internet is a great resource. Also, check out our “Design Inspiration” section to see how others have designed their SmartTerras.
Check out the Gallery for Design Inspiration!
Obtaining Plants & Materials
Plants
If you are new to plants, we recommend that you first try to find a local store that sells terrarium plants. This way, you can get growing advice in person from an expert, who will also be able to answer any questions you may have in the future.
However, if you are unable to find a store nearby, you can order your plants online!
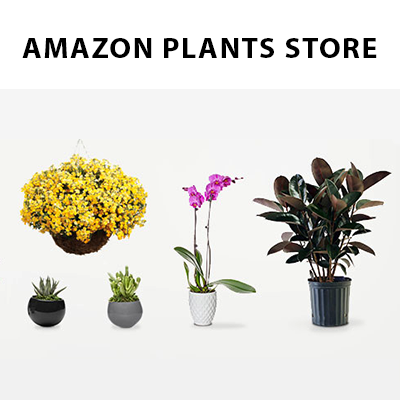
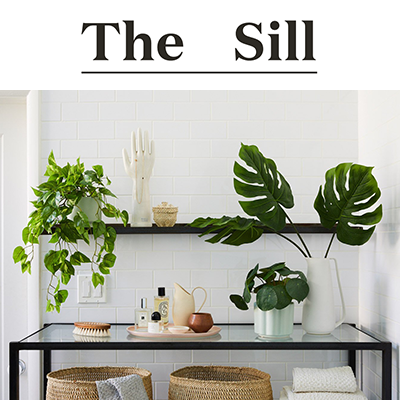
If you live in the US, here is a list of Online Plant Retailers that we recommend:

Too lazy to pick your plants? Want something that would work for sure? We’ve picked for you!:


Step 3 — Set Up
If you run into any other issues during unboxing, please visit our Troubleshooting Guide.
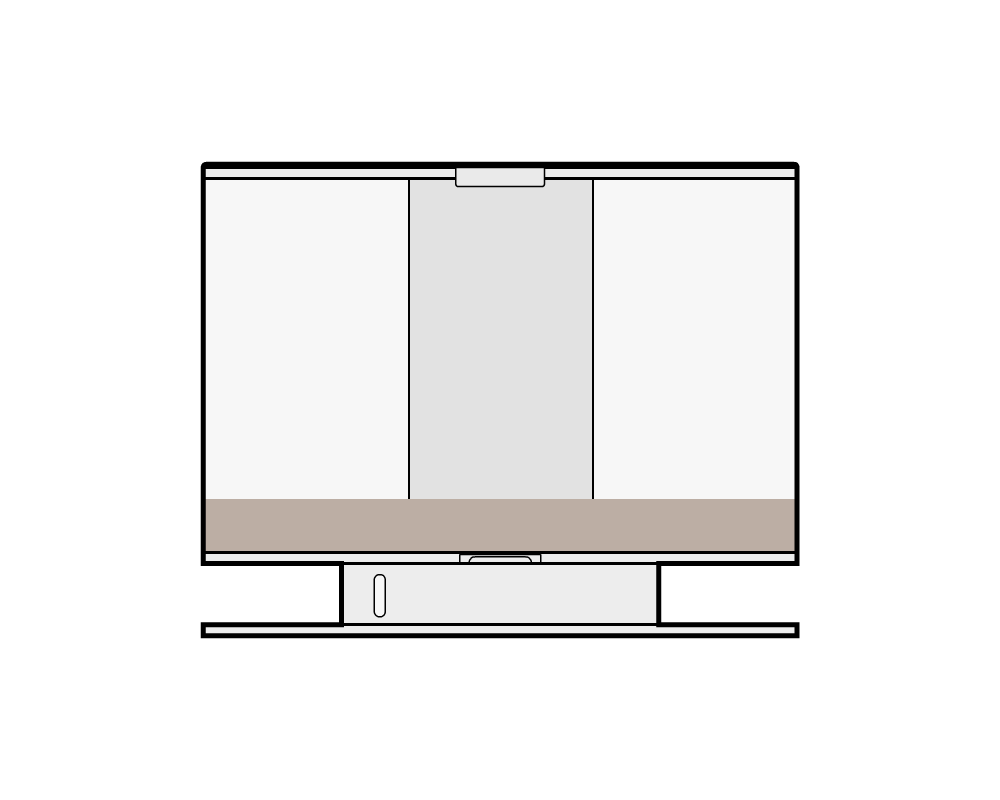
Placement
Where you place the SmartTerra is very important. Most plants grow comfortably at room temperature. Avoid placing the SmartTerra in areas where there may be sudden temperature changes, prolonged periods of cold, or drafts of wind. In addition, do not place the SmartTerra under direct sunlight.
Make sure to place the SmartTerra on a steady and level surface. This will prevent the water from spilling and ensure that the pump can perform at its best. Leave enough space between the wall and the back of the unit. Ideally, there should be at least 6 inches of space. This is to prevent the unintentional jamming of the drain pipe that may cause leakage.
Do not lift or move the unit when it contains water.
Avoid placing the SmartTerra near:


Powering Up & Connecting to the App
- Unpack the SmartTerra and place it on a steady and level surface.
- Connect the SmartTerra to an outlet using the provided power cable.
- Head over to the SmartTerra App Guide to learn basics about the app, and get your SmartTerra set up.
- In the app, go to Settings > Advanced Settings > SYNC DATE AND TIME.
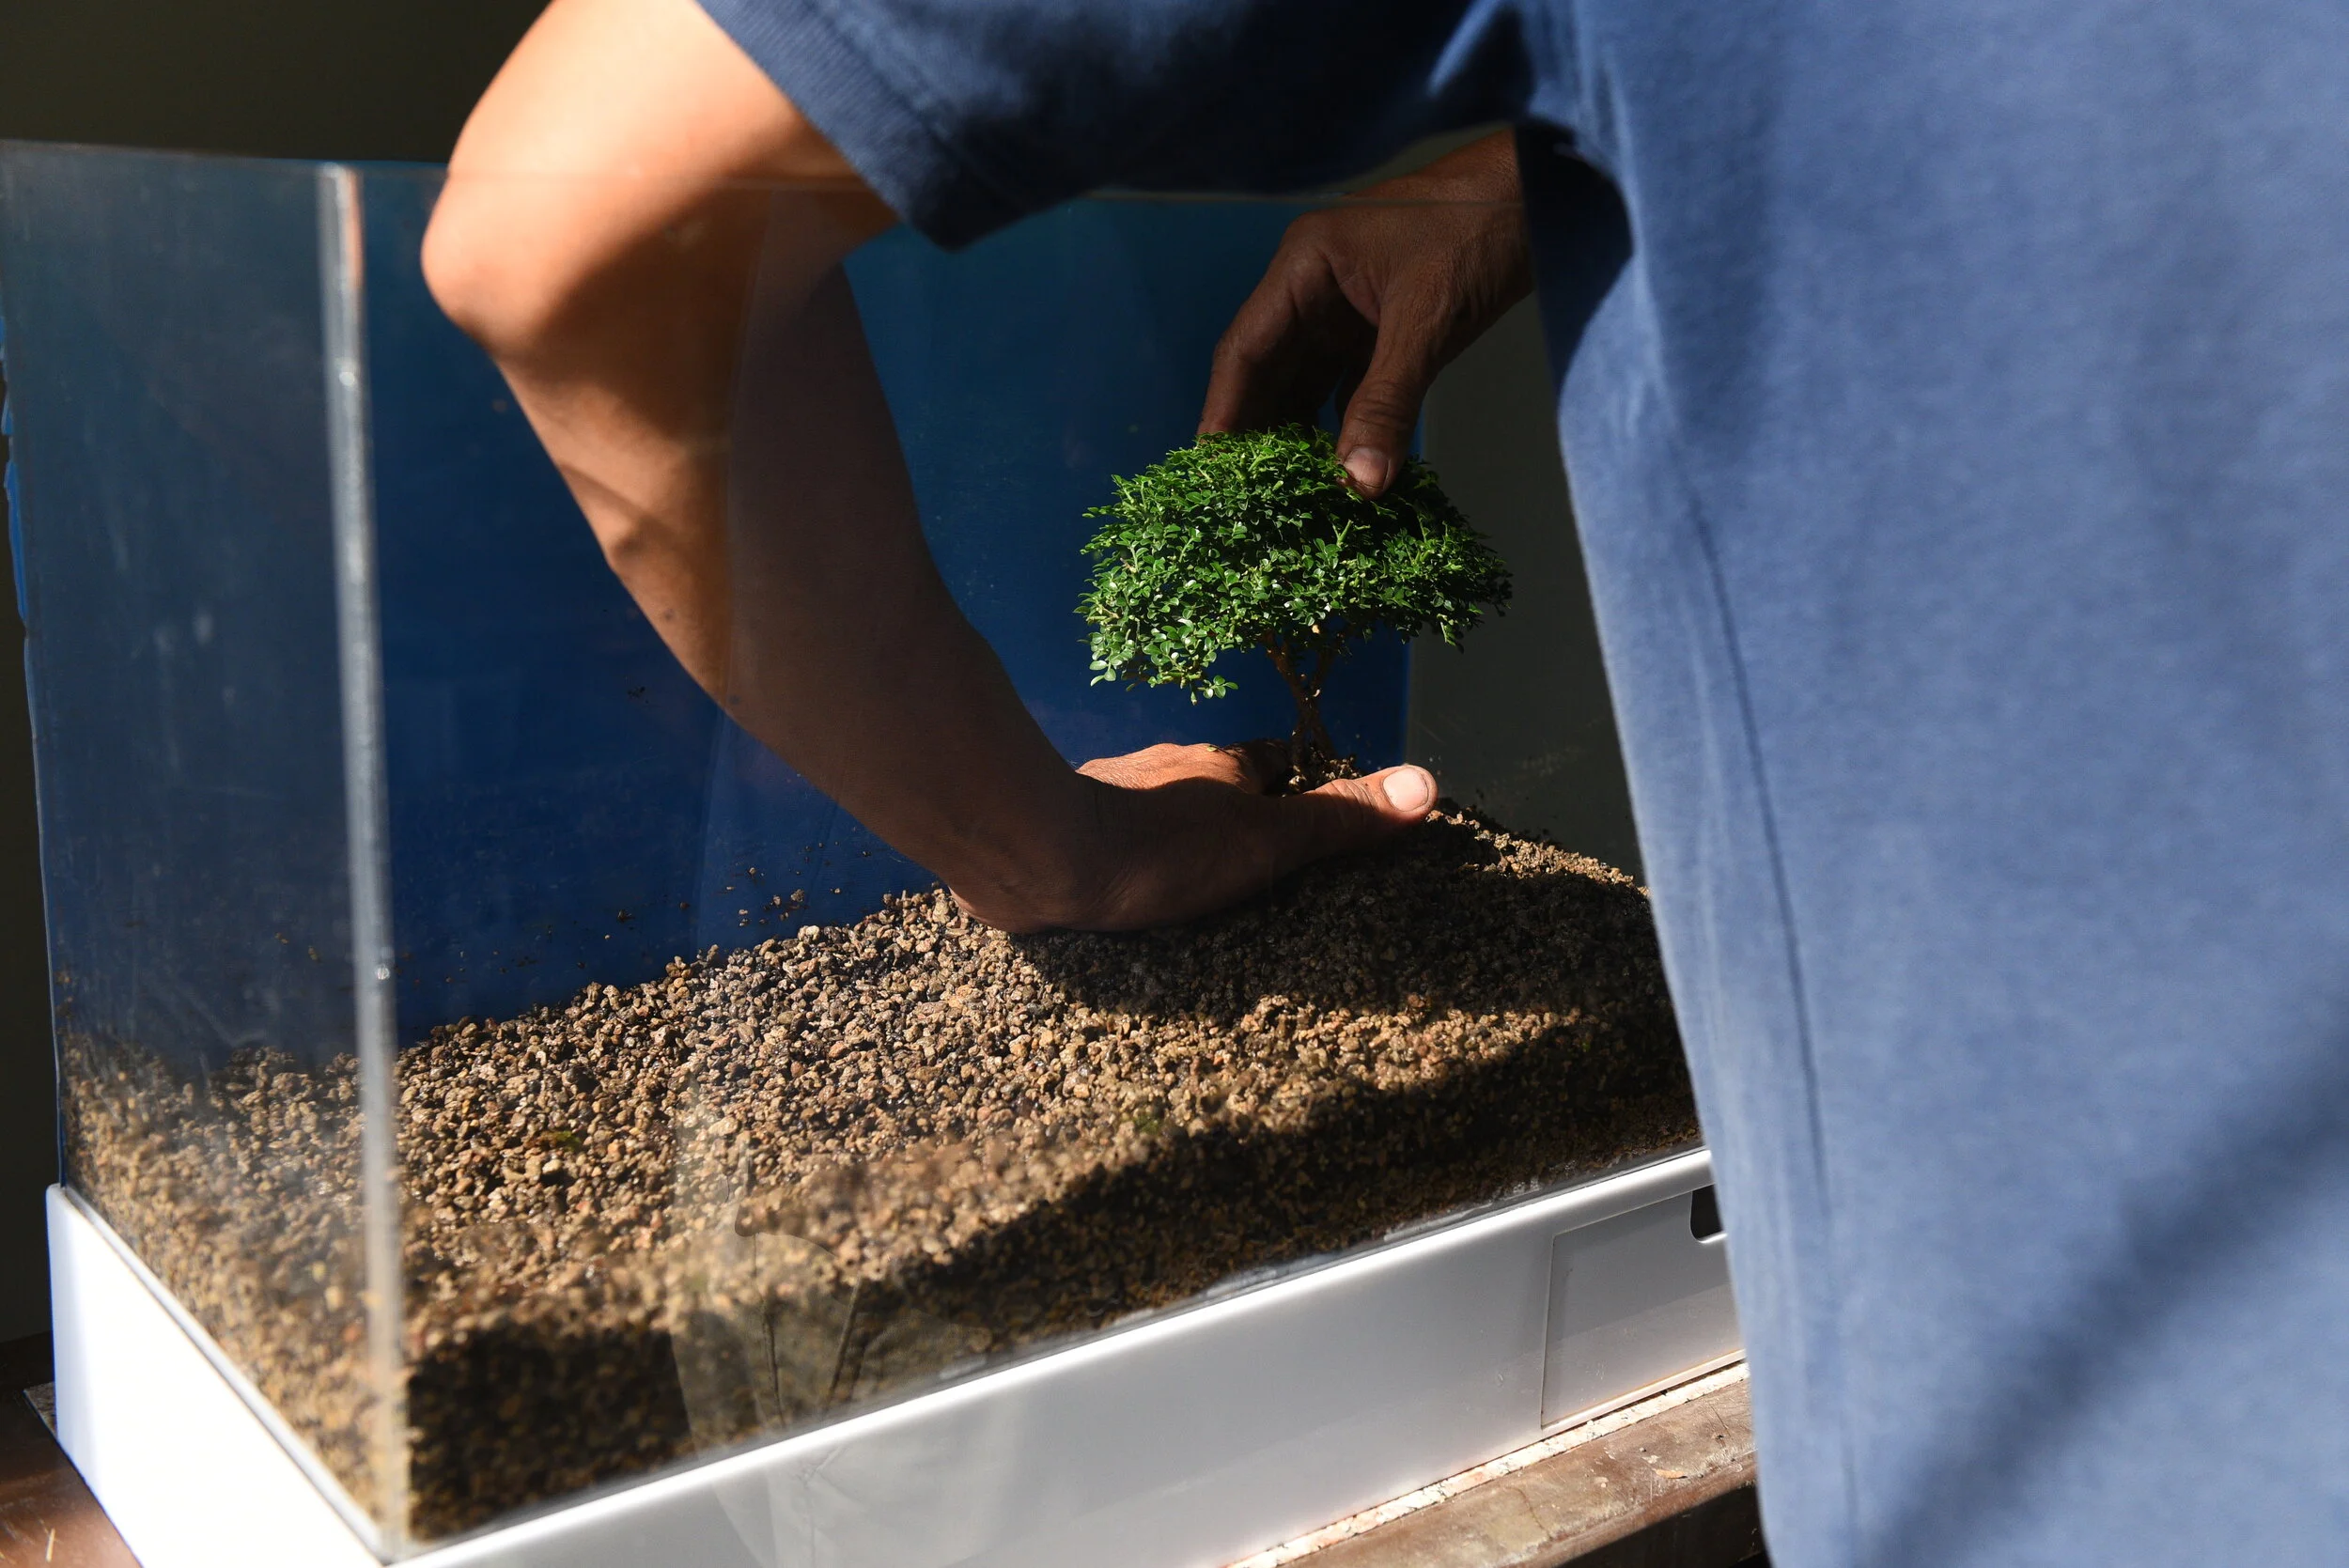
Step 4 — Scape
Once you have your plants, you’re ready to give them a new home! You can remove the tank from the unit to make the container easier to access.
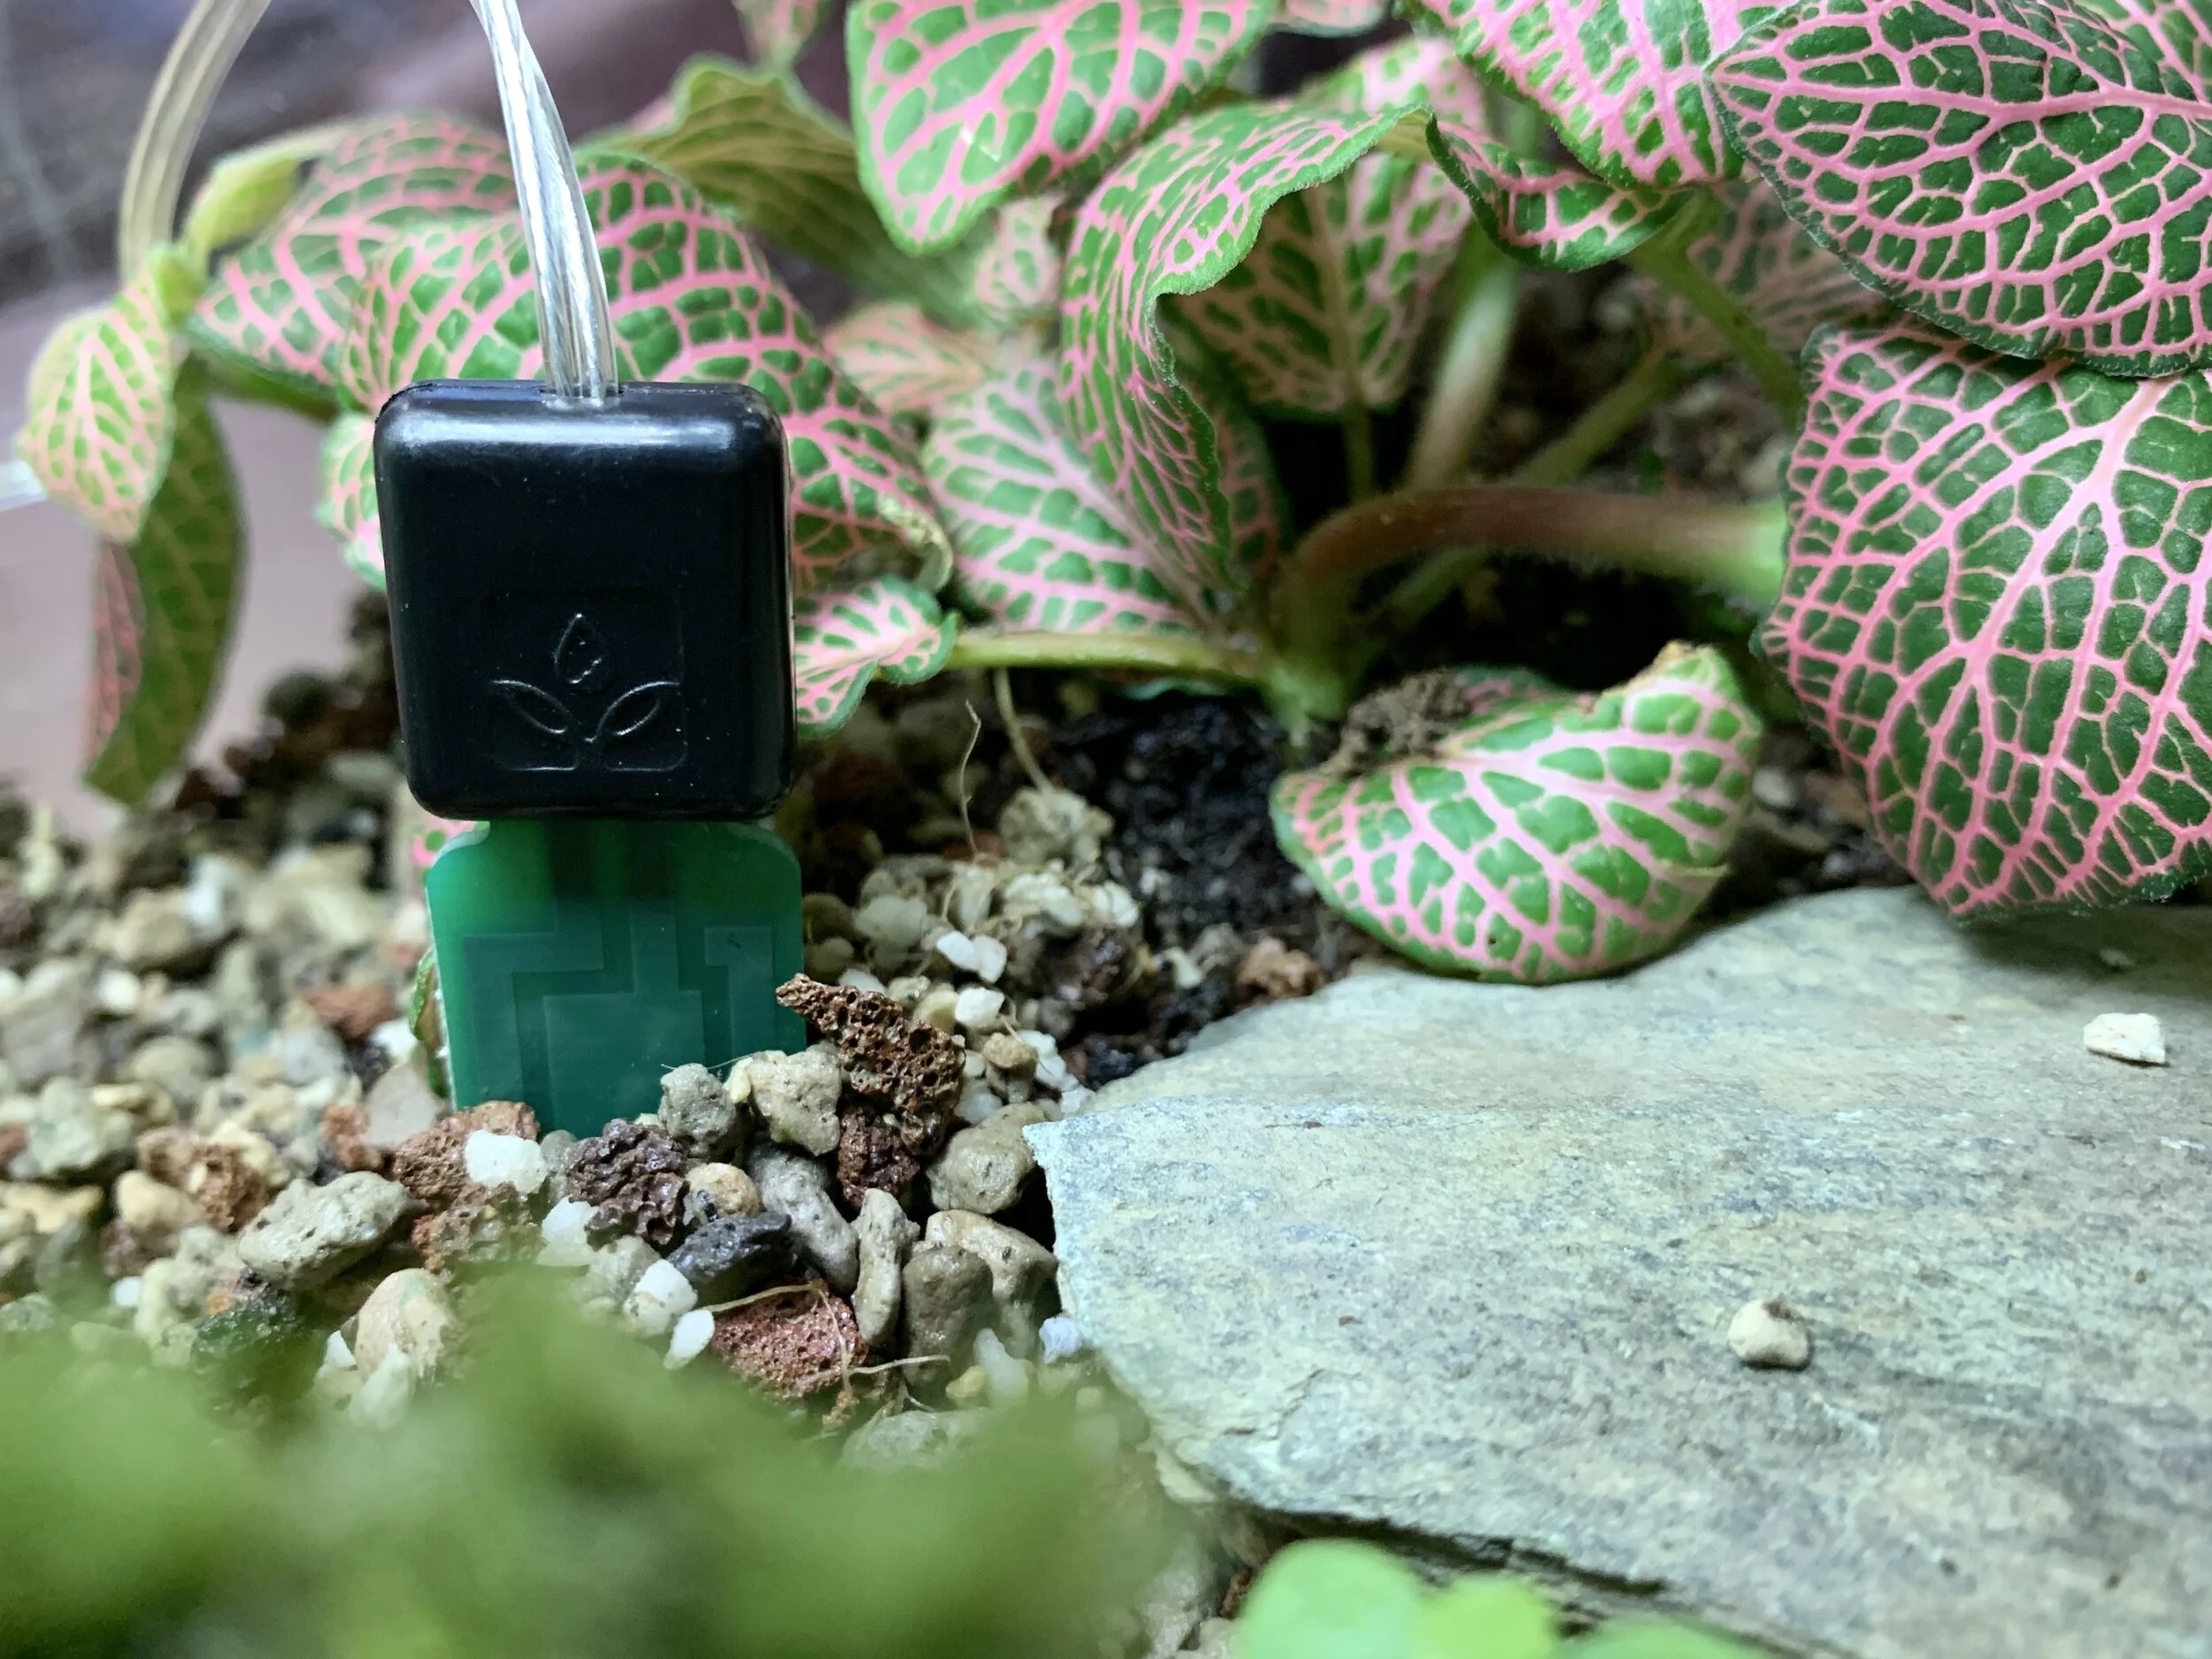
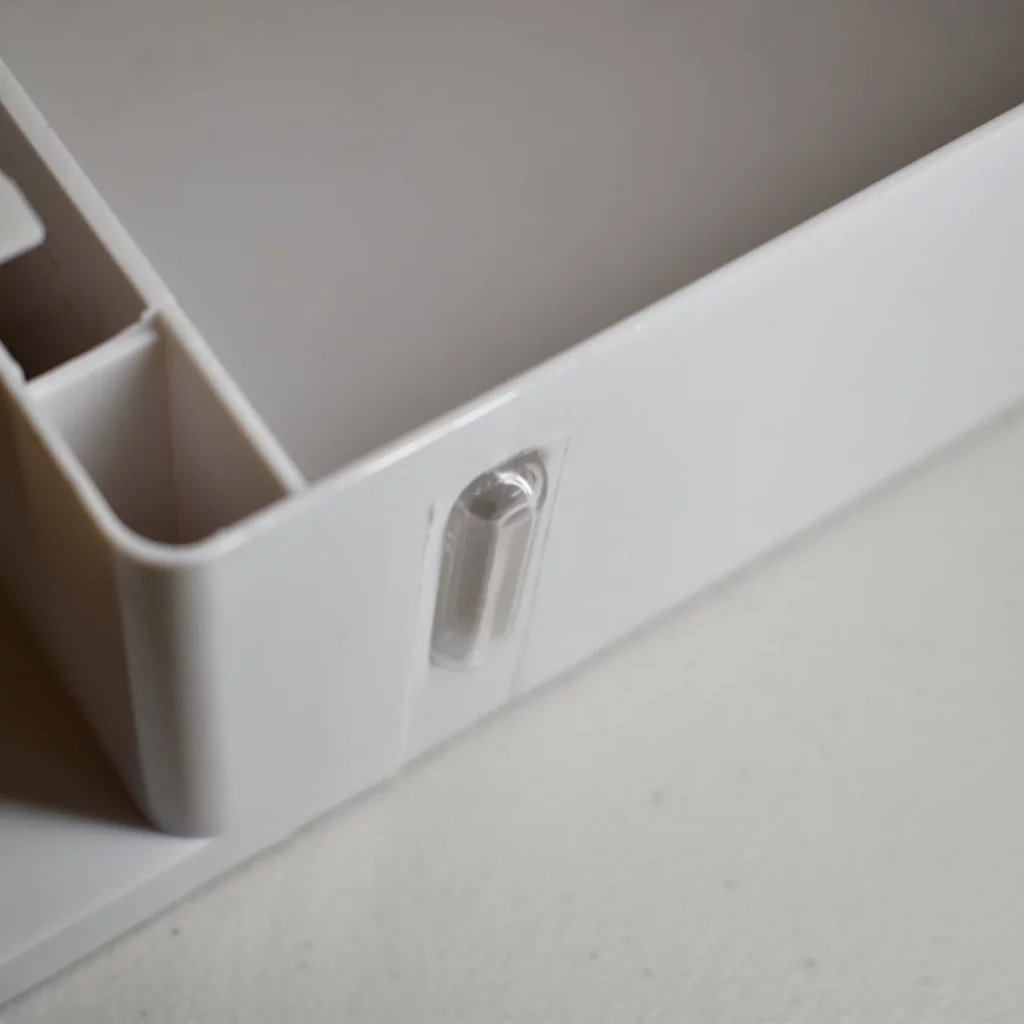
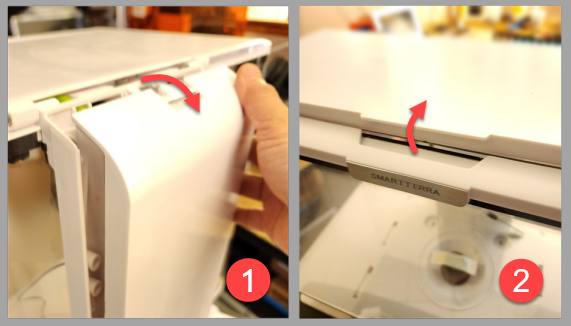
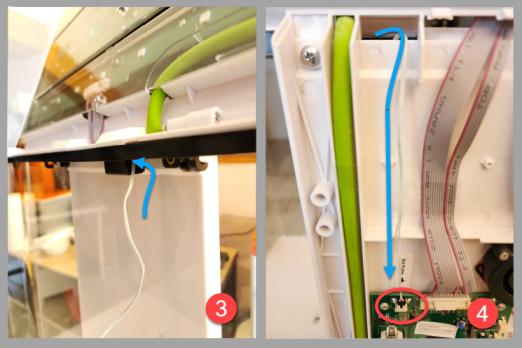
Installing the Soil Moisture Sensor
The Soil Moisture sensor should be already connected to your unit when it arrives. However, if it is not, here is how you install it.
- Make sure that the unit is turned off
- Open the back-spine cover (fig.1 & 2)
- From the inside of the unit, push the soil probe through the opening starting from the connector (fig 3)
- From the back of the spine, you should see the connector come through from the front. (fig 4)
- Locate the soil probe port and click it into place. (fig 4)
Soil Moisture Sensor Calibration
DO NOT SKIP THIS STEP
Measuring soil moisture is not an exact science. You may need to do some trial-testings to get it right. To make the process easy for you, we have provided several tips below:
- The value read by the soil probe takes time to settle down: up to 30 seconds. Therefore, every time you reposition the soil probe, such as between calibration steps, give some time for the value to settle.
- If you want a high-humidity climate, you should place the sensor in a dryer location: near the tank walls and where it is more rocky.
- If you want a low-humidity climate, you should place the sensor in a wetter location: towards the center and where there is dirt that retains water well.
Calibration Steps:
- Go to Settings > Soil Probe Calibration
- Take the probe out of the unit and wipe it dry
- Wait 15 secs before pressing “Next”
- Take the probe out of the unit and dip in the wettest part of the soil or dip it in a glass of water
- Wait 15 secs before pressing “Next”
- You’re done! To test whether the calibration worked:
- Try simulating the wet soil condition by sticking the probe in a glass of room-temperature water.
- Try simulating the dry soil condition by wiping the probe dry and leaving it in the open air.
IMPORTANT: Preventing Damage to the Top-Lid’s Electronics
We have had cases where users accidentally damaged the top lid’s electronics while working on soil probe and SmartTerra is on.
- Before opening the top lid, be sure that it’s not raining inside the unit
- Always turn off the unit before moving or removing the soil probe sensor (this could trigger rains while the top lid is open)
How to set up and configure the SmartTerra unit
Step 5 — Maintain
The SmartTerra was designed to be as low maintenance as possible. However, there are still a few things you have to do:

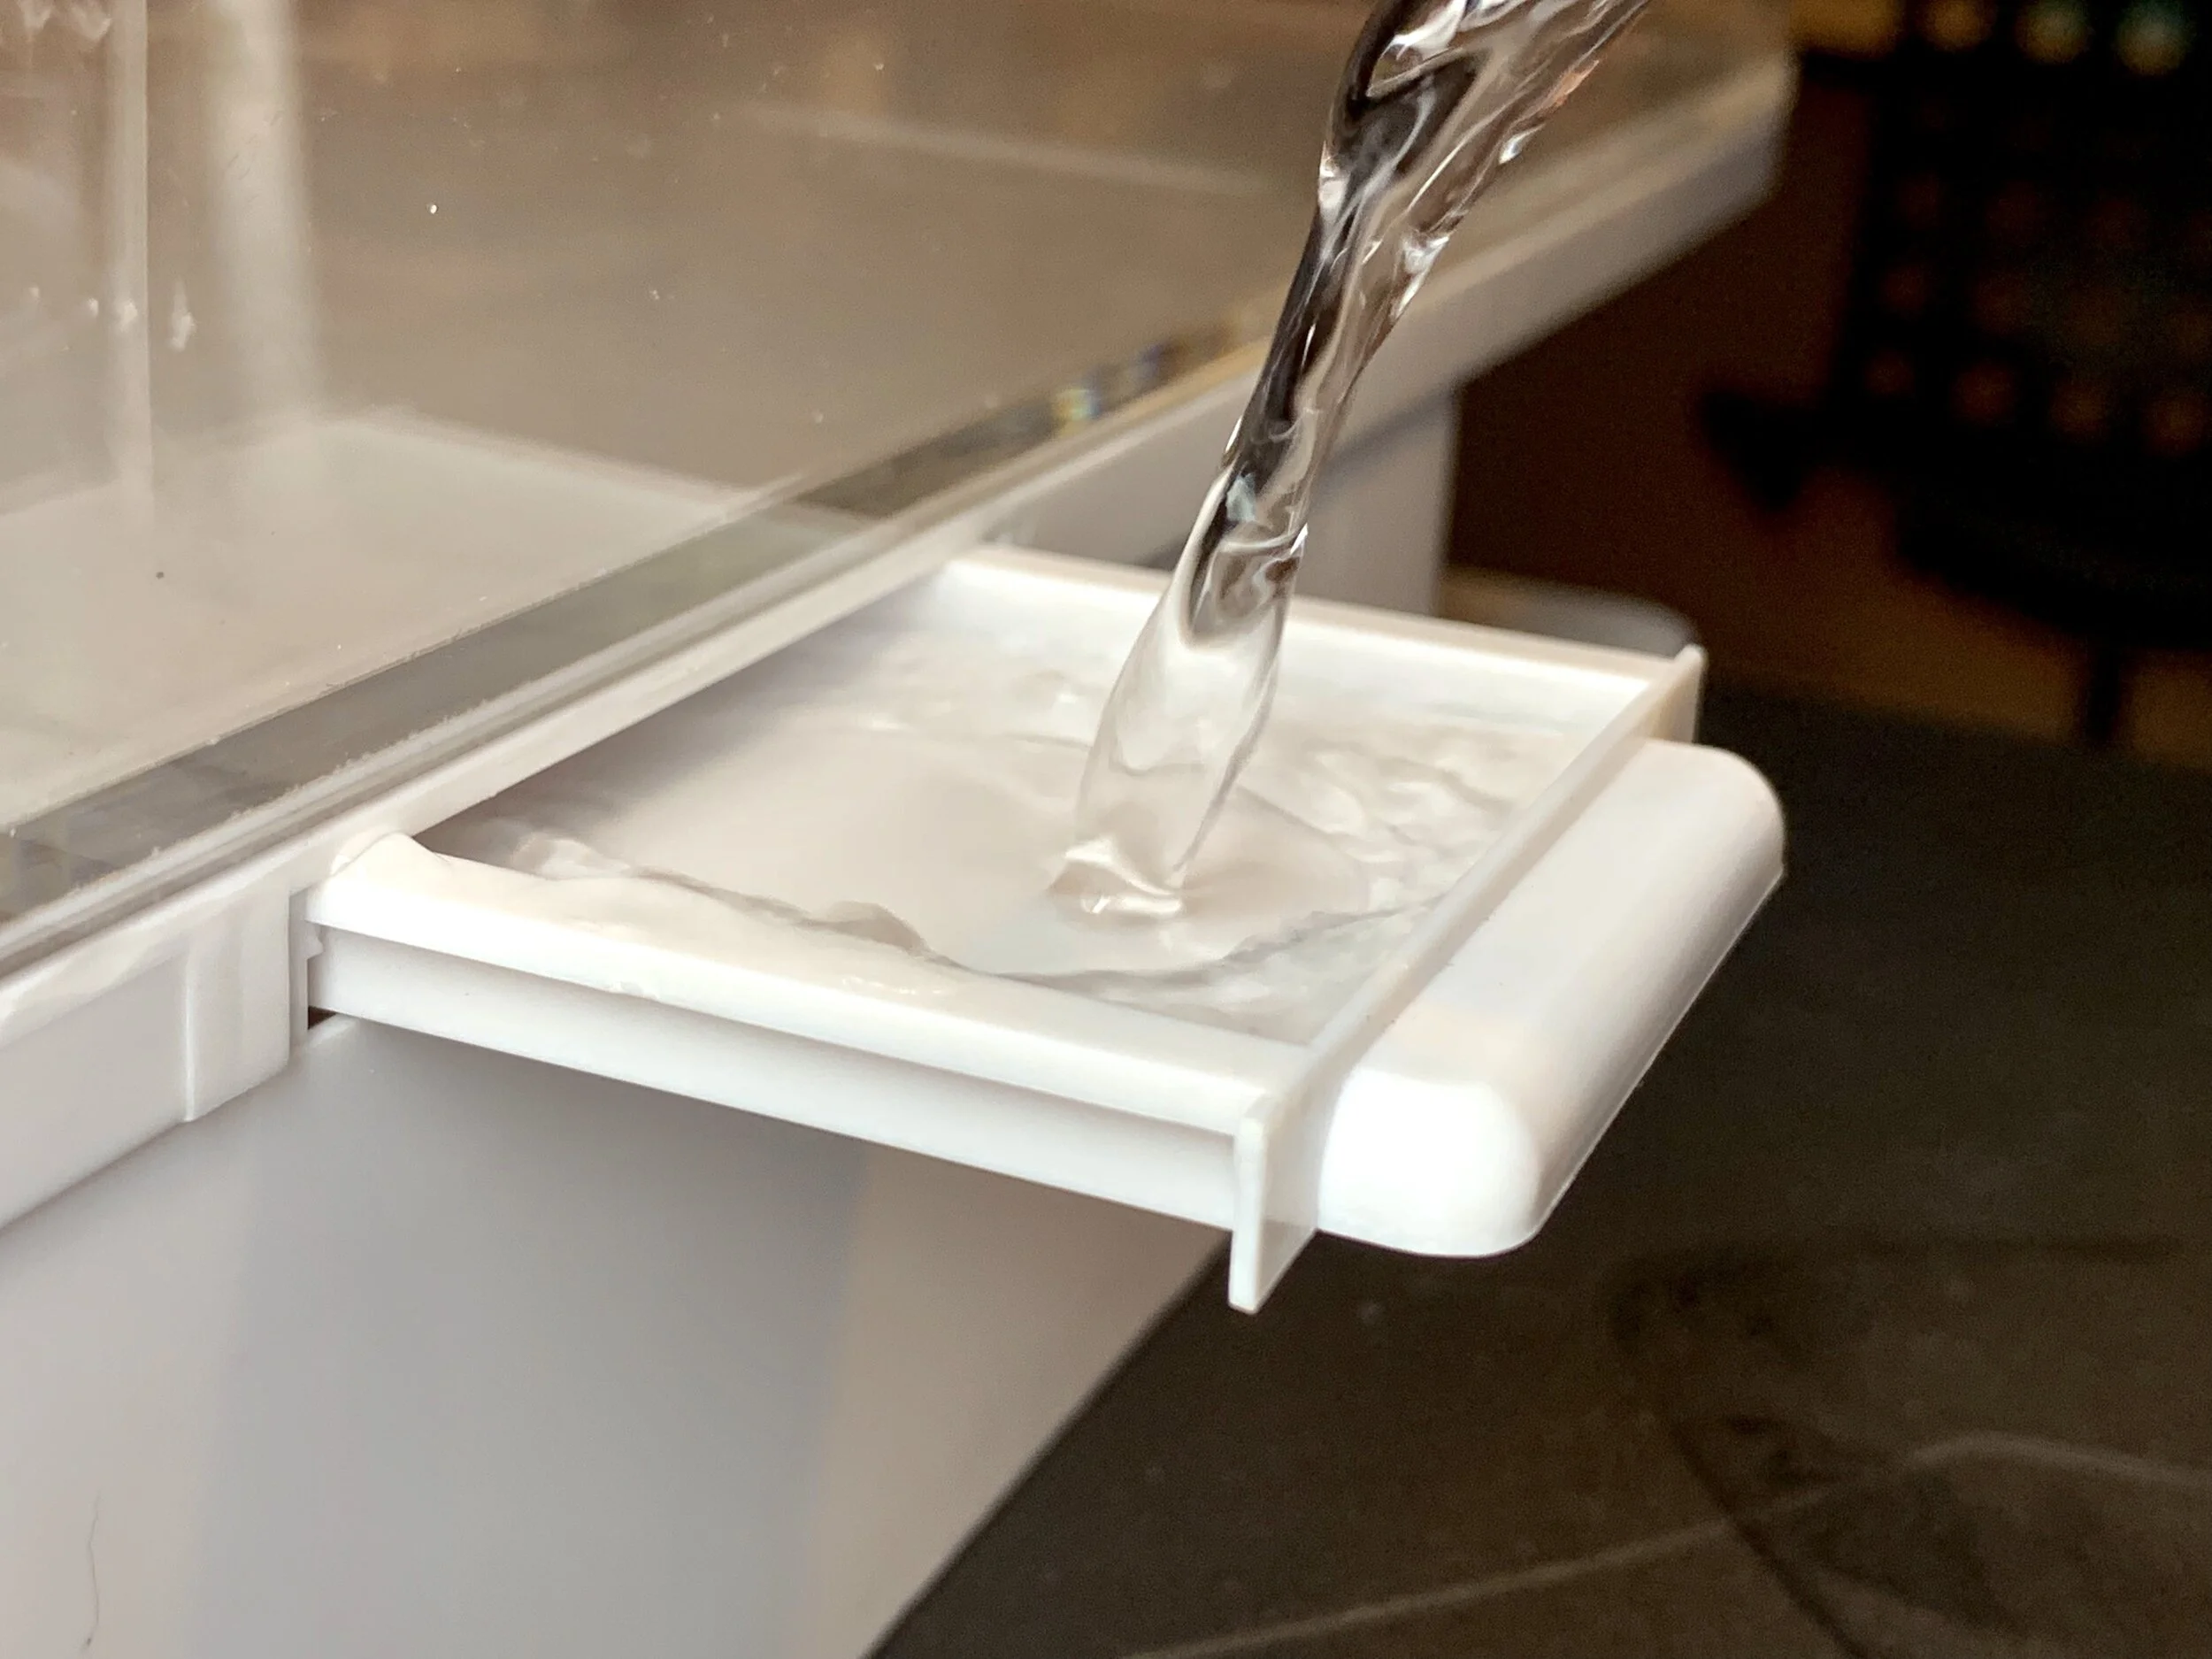
Water
Once reminded by the app that the water is low, you will need to add water to the tank at the bottom of the unit.

Prune
Prune (snip off) overgrown or rotting parts of your plants.

Cleaning the Windows
Wipe down the windows to keep it clear. For best results, use a microfiber cloth. Use mild soap to get rid of stains, and avoid using alcohol as it may damage the coating on the windows. Also, be careful not to scratch the tank with the soil/rocks.

Add Fertilizer
Once in a while, the app will remind you that it is time to add fertilizer. You can add fertilizer directly on the plants or through the water tray.
Things to be cautious about: